Understanding Your Exercise Bike's Resistance System
Exercise bikes are a staple in home gyms and fitness centers due to their convenience and effectiveness. However, when the exercise bike resistance is not working, it can disrupt your workout routine. Understanding the basics of how resistance systems work is crucial in diagnosing and fixing issues.
Types of Resistance Systems
- Magnetic Resistance: Uses magnets and a flywheel to provide smooth and adjustable resistance. Found in models like the Schwinn IC4.
- Friction Resistance: Utilizes felt or leather pads that press against the flywheel. Common in budget models and some spin bikes.
- Fan-Based Resistance: Resistance increases with pedaling speed, typical in air bikes such as the Assault AirBike.
Common Reasons for Resistance Issues
When encountering a bike resistance broken situation, it’s often due to a few common issues. Here's what to check:
Check the Resistance Cable
The resistance cable connects the tension knob or digital console to the resistance mechanism. If this cable is loose, disconnected, or damaged, the resistance won’t adjust properly.
- Inspect the cable for any visible damage or disconnection.
- Ensure the cable is securely attached to both the tension control and the resistance mechanism.
Inspect the Flywheel and Magnets
For magnetic resistance bikes, the distance between the magnets and the flywheel can affect resistance levels.
- Ensure the magnets are aligned correctly and free from debris.
- Check for any obstruction that might be preventing the flywheel from spinning freely.
Examine the Resistance Pads
In friction resistance bikes, worn or misaligned pads can cause issues.
- Inspect the pads for wear and tear. Replace if they appear worn out.
- Adjust the alignment to ensure even contact with the flywheel.
Step-by-Step Troubleshooting Guide
Here’s a detailed guide on how to fix bike resistance issues:
Tools You’ll Need
- Screwdriver set
- Wrench set
- Allen keys
- Replacement pads or cables (if necessary)
Step 1: Secure the Bike
Before beginning any repairs, ensure your bike is stable and placed on a flat surface.
Step 2: Access the Resistance Mechanism
Most exercise bikes have a cover over the resistance system. Remove this carefully using a screwdriver.
Step 3: Inspect and Adjust the Components
- Check the tension cable for any signs of wear or misalignment. Tighten or replace as necessary.
- For magnetic systems, clean the magnets and ensure they are positioned correctly relative to the flywheel.
- For friction systems, inspect the pads and replace if worn. Adjust their alignment as needed.
Step 4: Test the Resistance
After adjustments, reattach the cover and test the bike's resistance settings. Ensure smooth operation across all levels.
When to Call a Professional
While many issues can be resolved through DIY methods, there are times when professional help is warranted:
- If the resistance system is beyond basic repairs or requires specialized parts.
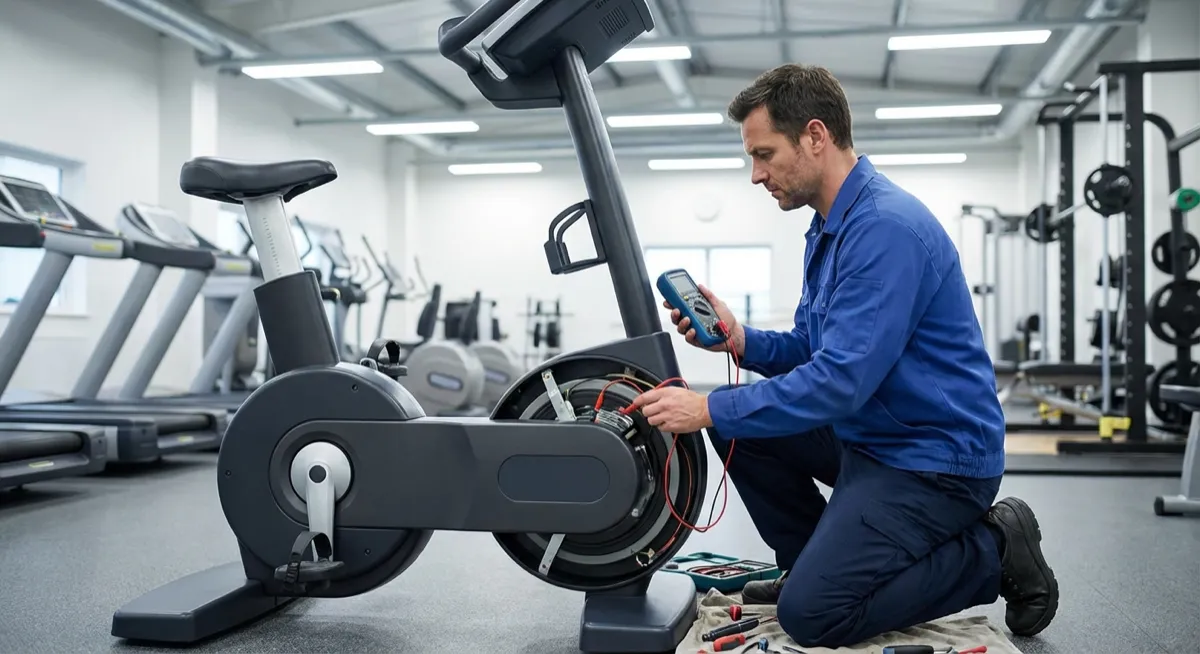
- If you are unsure about performing electrical tests on digital consoles.
- When dealing with complex models such as the Peloton Bike or NordicTrack models that might void warranties if improperly handled.
Maintaining Your Exercise Bike
Regular maintenance can prevent many common resistance issues. Here are some tips:
- Keep the bike clean and free from dust and sweat buildup.
- Regularly check and tighten all bolts and screws.
- Lubricate moving parts as per the manufacturer’s guidelines.
By following these steps, you can keep your exercise bike in optimal condition, ensuring a smooth and effective workout every time.